Three.js Tutorial for Absolute Beginners
源项目仓库:
npm安装
parcel.js 程序打包工具three.js 图表库
threejs尽量安装稳定版本,最新版本可能存在各种问题
1
2
npm install three@0.133.0 npm install parcel
parcel将多个源文件打包成一个dist,
文件结构如下时:
在项目根目录路径root\下使用parcel命令:
parcel会在项目根目录root\下创建一个dist文件夹,
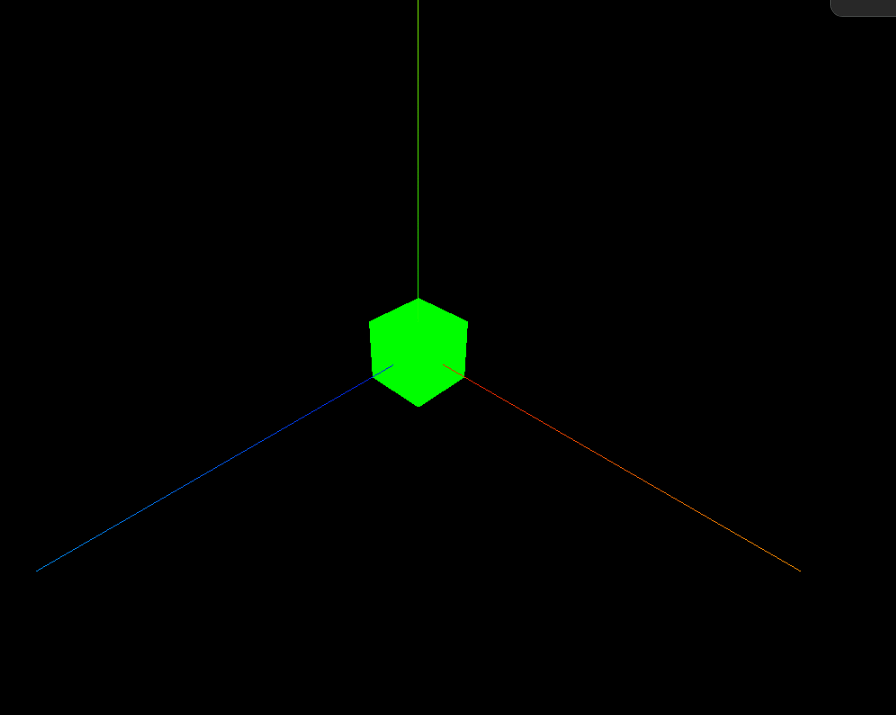
渲染器Renderer/场景Scene/摄像机Camera 1 const scene = new THREE .Scene ()
1
2
3
4
5
6
7
8
9
const camera = new THREE .PerspectiveCamera ( 75 , window .innerWidth / window .innerHeight , 0.01 , 10000 ) scene.add (camera) camera.position .set (20 , 20 , 20 ) camera.lookAt (0 ,0 ,0 )
1
2
3
4
const renderer = new THREE .WebGLRenderer ()renderer.setSize (window .innerWidth , window .innerHeight ) document .body .append (renderer.domElement )renderer.render (scene, camera)
坐标系辅助线AxesHelper/物体Object/动画Animate/轨道控制器OrbitControls 1 2 const axesHelper = new THREE .AxesHelper (15 )scene.add (axesHelper)
1 2 3 4 5 6 const boxGeometry = new THREE .BoxGeometry (3 ,3 ,3 )const boxMetarial = new THREE .MeshBasicMaterial ({ color :0x00ff00 }) const box = new THREE .Mesh (boxGeometry, boxMetarial)scene.add (box)
记得每次调用animate时都要调用render进行重绘
1 2 3 4 5 6 renderer.setAnimationLoop (animate) function animate (time ) { box.rotation .x = time / 1000 box.rotation .y = time / 1000 renderer.render (scene, camera) }
每次对相机进行修改后,都需要调用orbit.update()进行更新
1 2 3 4 import {OrbitControls } from 'three/examples/jsm/controls/OrbitControls' const orbit = new OrbitControls (camera, renderer.domElement )orbit.update ()
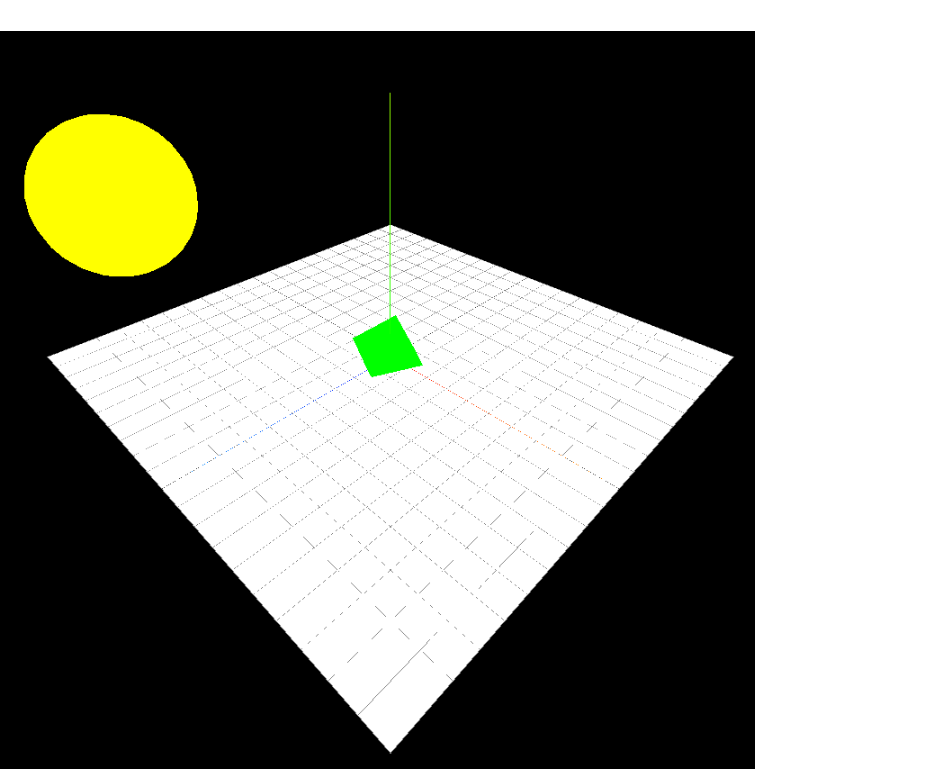
Geometry几何构造/Material材质/GridHelper网格辅助器 1 2 3 4 5 6 7 8 9 10 11 12 13 14 15 16 17 const planeGeometry = new THREE .PlaneGeometry (30 , 30 )const planeMaterial = new THREE .MeshBasicMaterial ({ color : 0xffffff , side :THREE .DoubleSide }) const plane = new THREE .Mesh (planeGeometry, planeMaterial)scene.add (plane) plane.rotation .x = -Math .PI / 2 const sphereGeometry = new THREE .SphereGeometry (4 )const sphereMaterial = new THREE .MeshBasicMaterial ({ color :0xffff00 }) const sphere = new THREE .Mesh (sphereGeometry, sphereMaterial)scene.add (sphere) sphere.position .set (-10 ,10 ,10 )
GridHelper:
param1: size param2: divisions 1 2 const gridHelper = new THREE .GridHelper (30 , 30 )scene.add (gridHelper)
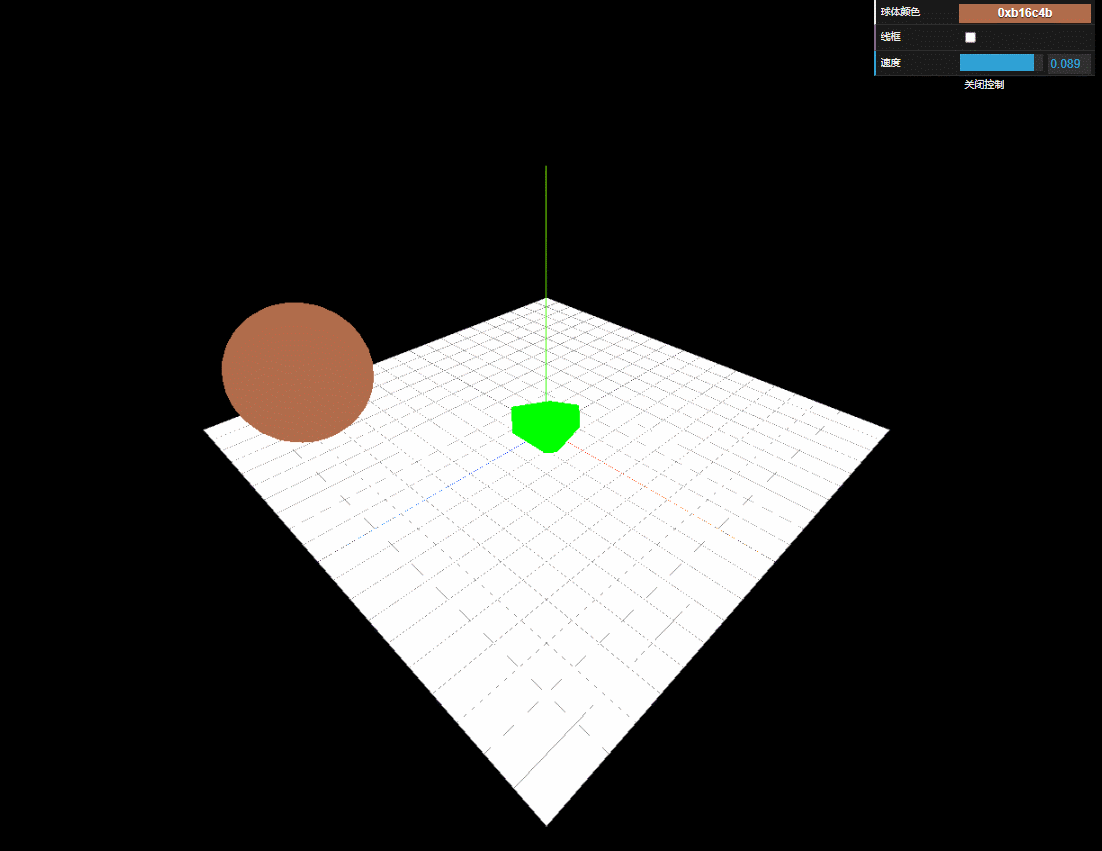
dat.gui交互界面 npm安装dat.gui
1 2 3 4 5 6 7 8 9 10 11 12 13 14 import { GUI } from 'dat.gui' const options = { sphereColor : 0xb16c4b , wireframe : false , speed : 0.05 } const gui = new GUI ()gui.addColor (options, 'sphereColor' ).onChange ((e ) => { sphere.material .color .set (e) }) gui.add (options, 'wireframe' ).onChange (e => sphere.material .wireframe = e }) gui.add (options, 'speed' , 0 , 0.1 )
1 2 3 4 5 function animate (time ) { sphere.position .y = 10 *Math .abs (Math .sin (Math .PI *(time/100 )*options.speed )) renderer.render (scene, camera) }
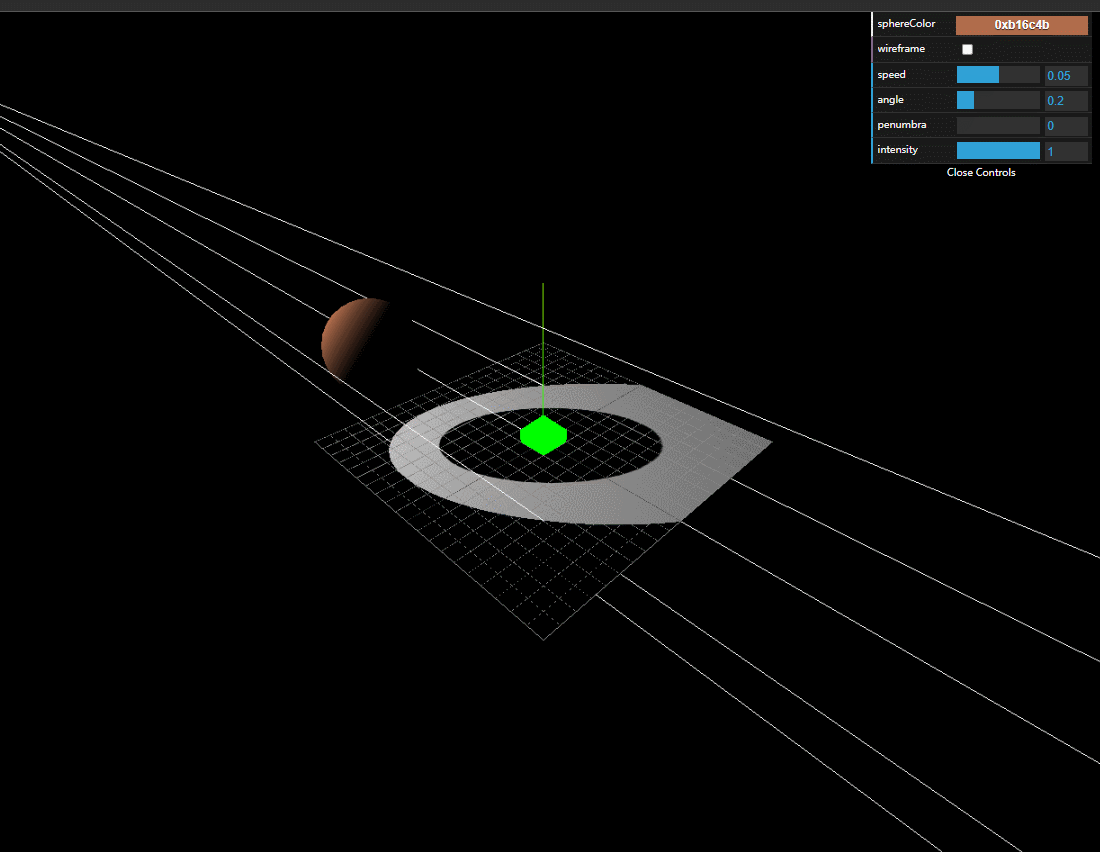
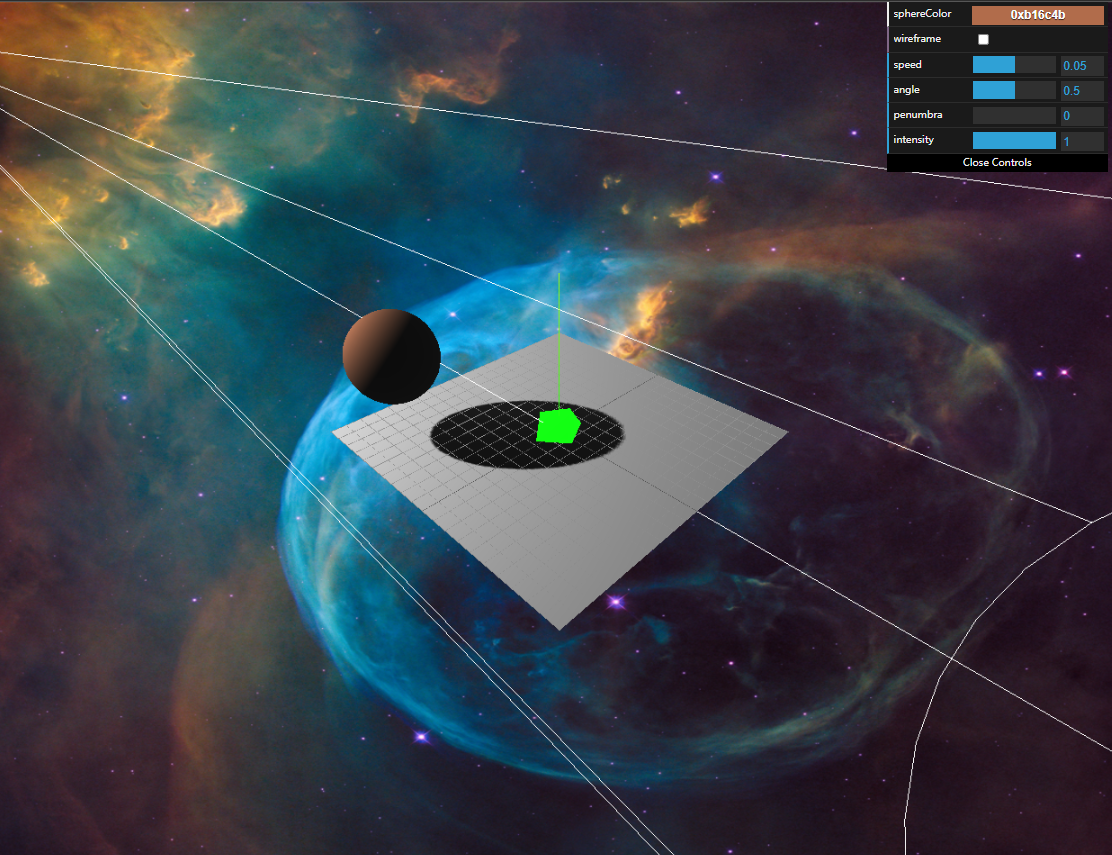
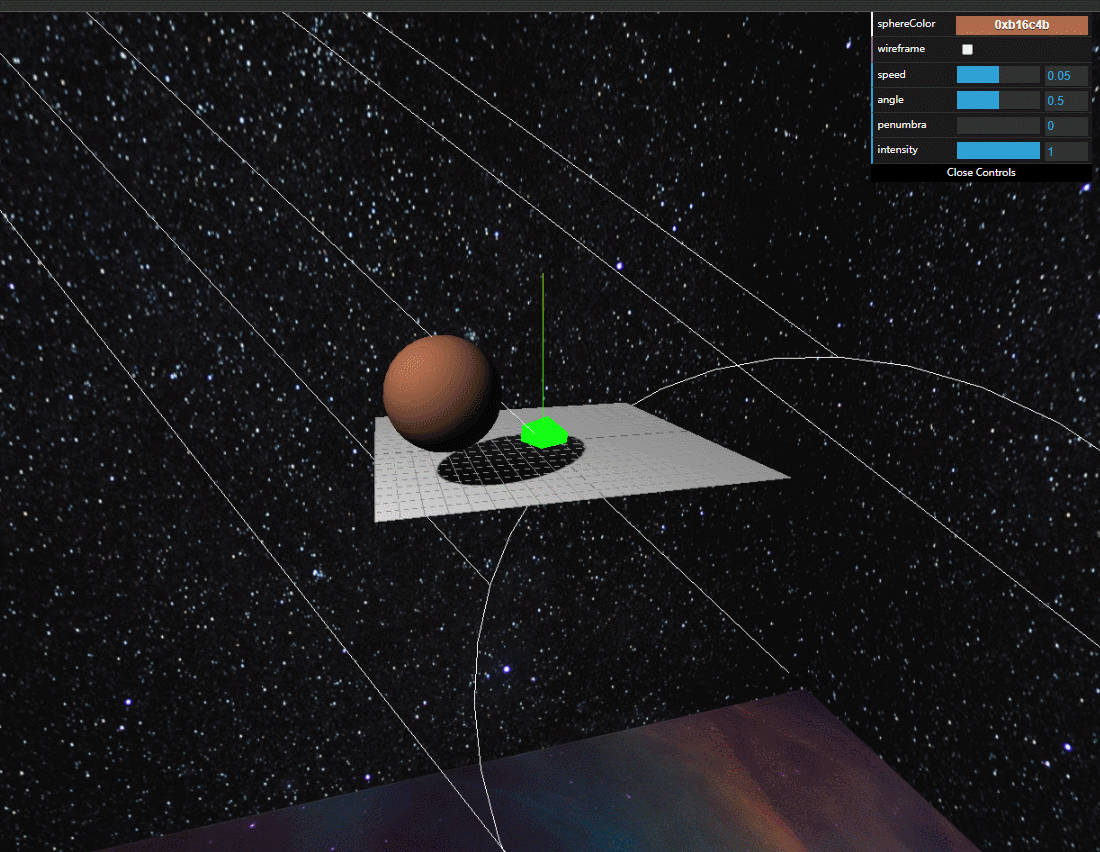
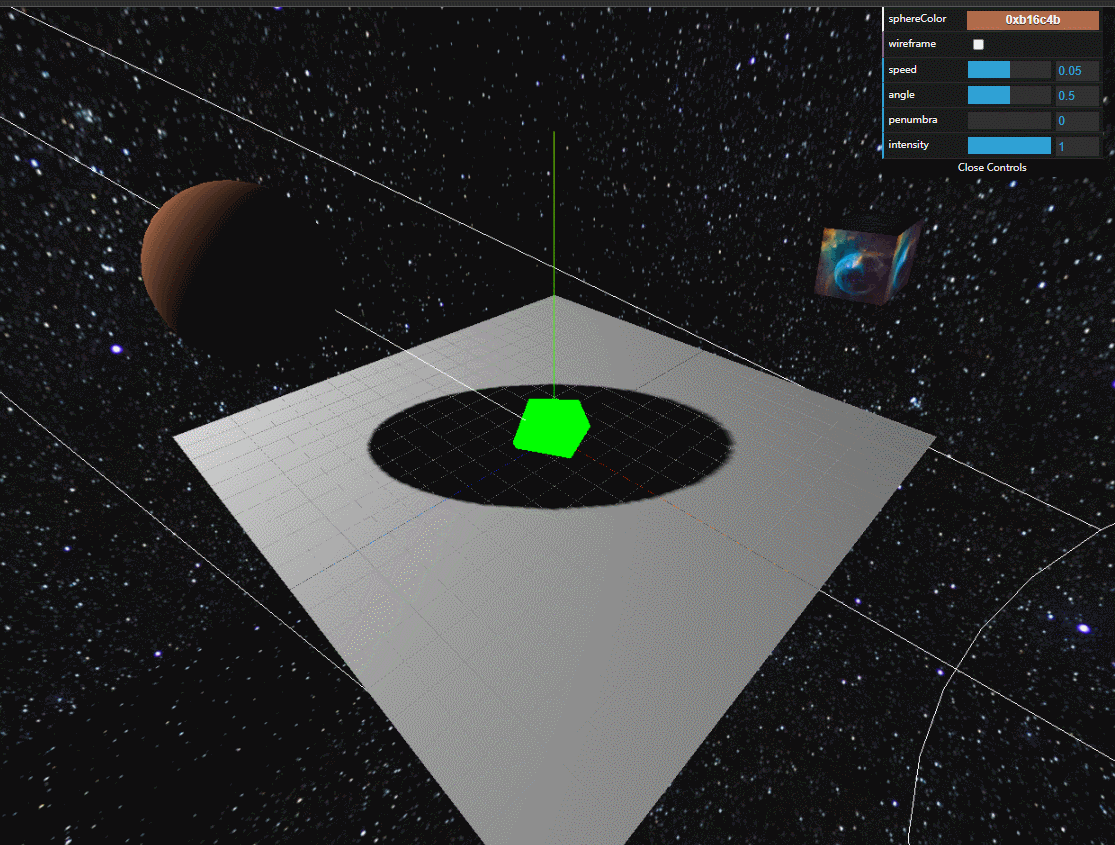
AmbientLight环境光/DirectionalLight直射光/SpotLight聚光灯/Shadow阴影 将之前创建的物体材质改成受光照影响的MeshStandardMaterial
1
2
const ambientLight = new THREE .AmbientLight (0xffffff )scene.add (ambientLight)
1 2 3 4 5 const directionalLight = new THREE .DirectionalLight (0xffffff )scene.add (directionalLight) directionalLight.position .set (-30 ,30 ,30 ) const directionalLightHelper = new THREE .DirectionalLightHelper (directionalLight ,5 , 0x0000ff )scene.add (directionalLightHelper)
DirectionalLight的阴影底部范围默认为5,
1 directionalLight.shadow .camera .bottom = -10
要投射阴影,首先要将renderer的shadowMap属性打开
1 renderer.shadowMap .enabled = true
然后需要将光源的castShadow属性打开,
1 2 3 directionalLight.castShadow = true sphere.castShadow = true plane.receiveShadow = true
1 2 3 4 5 6 const spotLight = new THREE .SpotLight (0xffffff )scene.add (spotLight) spotLight.position .set (-30 , 30 , 30 ) spotLight.castShadow = true const spotLightHelper = new THREE .SpotLightHelper (spotLight)scene.add (spotLightHelper)
Fog雾/SceneBackground场景背景/Texture纹理 方式1:指定雾的范围
1 scene.fog = new THREE .Fog (0xffffff ,20 , 200 )
方式2:指定雾的密度
1 scene.fog = new THREE .FogExp2 (0xffffff ,0.01 )
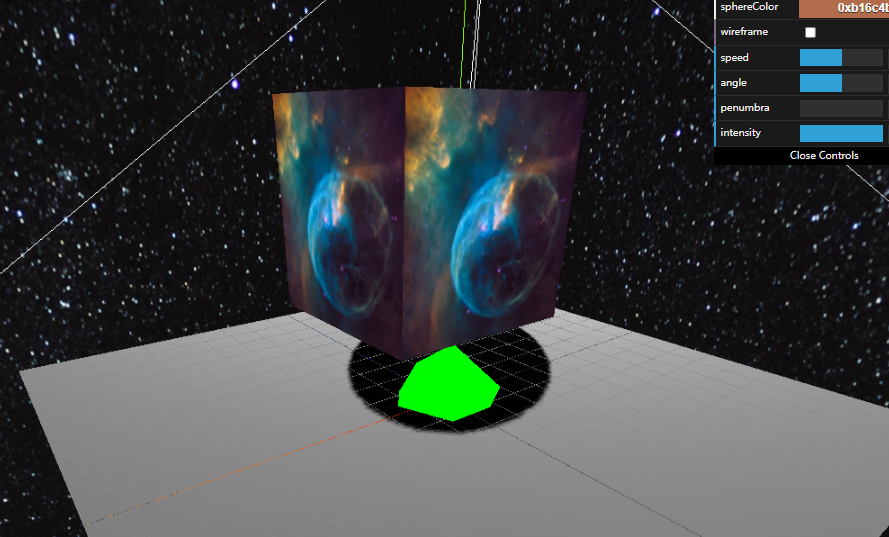
单个textureLoader:
1 2 3 import nebula from '../img/nebula.jpg' const textureLoader = new THREE .TextureLoader ()scene.background = textureLoader.load (nebula)
cubeTextureLoader:
1 2 3 4 5 6 7 8 9 10 11 import starts from '../img/stars.jpg' import nebula from '../img/nebula.jpg' const cubeTextureLoader = new THREE .CubeTextureLoader ()scene.background = cubeTextureLoader.load ([ nebula, starts, starts, nebula, nebula, starts ])
物体添加纹理:
1 2 3 4 5 6 7 8 import nebula from '../img/nebula.jpg' const textureLoader = new THREE .TextureLoader ()const boxGeometry2 = new THREE .BoxGeometry (3 ,3 ,3 )const boxMetarial2 = new THREE .MeshBasicMaterial ({ map :textureLoader.load (nebula) }) const box2 = new THREE .Mesh (boxGeometry2, boxMetarial2)scene.add (box2)
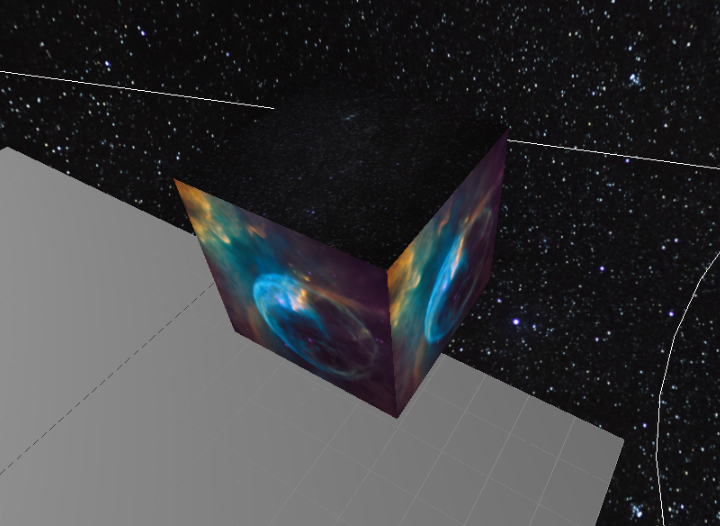
同一个物体添加多个材质:
1
2
3
4
5
6
7
8
9
10
11
12
13
14
import starts from '../img/stars.jpg' import nebula from '../img/nebula.jpg' const textureLoader = new THREE .TextureLoader ()const boxGeometry2 = new THREE .BoxGeometry (3 ,3 ,3 )const boxMetarial2 = [ new THREE .MeshBasicMaterial ({map :textureLoader.load (nebula)}), new THREE .MeshBasicMaterial ({map :textureLoader.load (nebula)}), new THREE .MeshBasicMaterial ({map :textureLoader.load (starts)}), new THREE .MeshBasicMaterial ({map :textureLoader.load (nebula)}), new THREE .MeshBasicMaterial ({map :textureLoader.load (nebula)}), new THREE .MeshBasicMaterial ({map :textureLoader.load (starts)}), ] const box2 = new THREE .Mesh (boxGeometry2, boxMetarial2)scene.add (box2)
Select选中 选中一个物体,首先需要在绘制区域创建一个二维坐标系:
1 2 3 4 5 let mousePosition = new THREE .Vector2 ()window .onmousemove = function (e ) { mousePosition.x = (e.clientX / window .innerWidth * 2 ) - 1 mousePosition.y = 1 - (e.clientY / window .innerHeight * 2 ) }
这里实现选中物体的原理是从摄像机Camera和鼠标Mouse之间发射出一条射线,
因此,我们需要创建一条射线:
1 let rayCaster = new THREE .Raycaster ()
然后在loop函数中持续对选中物体进行检测
1 2 3 4 5 6 7 8 9 10 11 12 13 14 function animate (time ) { rayCaster.setFromCamera (mousePosition, camera) let intersects = rayCaster.intersectObjects (scene.children ) for (let obj of intersects) { if (obj.object .id === sphere.id ) { obj.object .material .color .set (0xffff00 ) } else if (obj.object .name === box2.name ) { obj.object .rotation .x += 0.01 obj.object .rotation .z += 0.01 } } renderer.render (scene, camera) }
VertexPosition顶点坐标/ShaderMaterial渲染器材质/ModelImport模型导入 Vertext.attribute.position
通过直接修改obj.geometry.attributes.position数组中数值进行顶点修改,
1 2 3 4 5 6 7 8 let posArray = plane.geometry .attributes .position .array ;for (let i = 0 ; i < posArray.length ; i++) { if (i % 3 == 2 ) { let extent = (Math .abs (i-posArray.length /2 )/posArray.length )*5 posArray[i] = (2 +extent)*Math .sin (Math .PI *time/1000 /Math .max (extent,i/posArray.length *5 )) } } plane.geometry .attributes .position .needsUpdate = true
方式1:shader程序用字符串变量/常量定义:
1 2 3 4 5 6 7 8 9 10 11 12 13 14 const vShader = ` void main(){ gl_Position = projectionMatrix * modelViewMatrix * vec4( position, 1.0 ); } ` const fShader = ` void main(){ gl_FragColor = vec4( 0.7, 0.5, 1.0, 1.0); } ` const sphereMaterial = new THREE .ShaderMaterial ({ vertexShader : vShader, fragmentShader : fShader })
方式2:shader程序使用script标签写在html文件中:
1 2 3 4 5 6 7 8 9 10 <script id ="vShader" type ="x-vertex" > void main ( gl_Position = projectionMatrix * modelViewMatrix * vec4 ( position, 1.0 ); } </script > <script id ="fShader" type ="x-fragment" > void main ( gl_FragColor = vec4 ( 0.7 , 0.5 , 1.0 , 1.0 ); } </script >
1 2 3 4 const sphereMaterial = new THREE .ShaderMaterial ({ vertexShader : document .getElementById ('vShader' ).textContent , fragmentShader : document .getElementById ('fShader' ).textContent , })
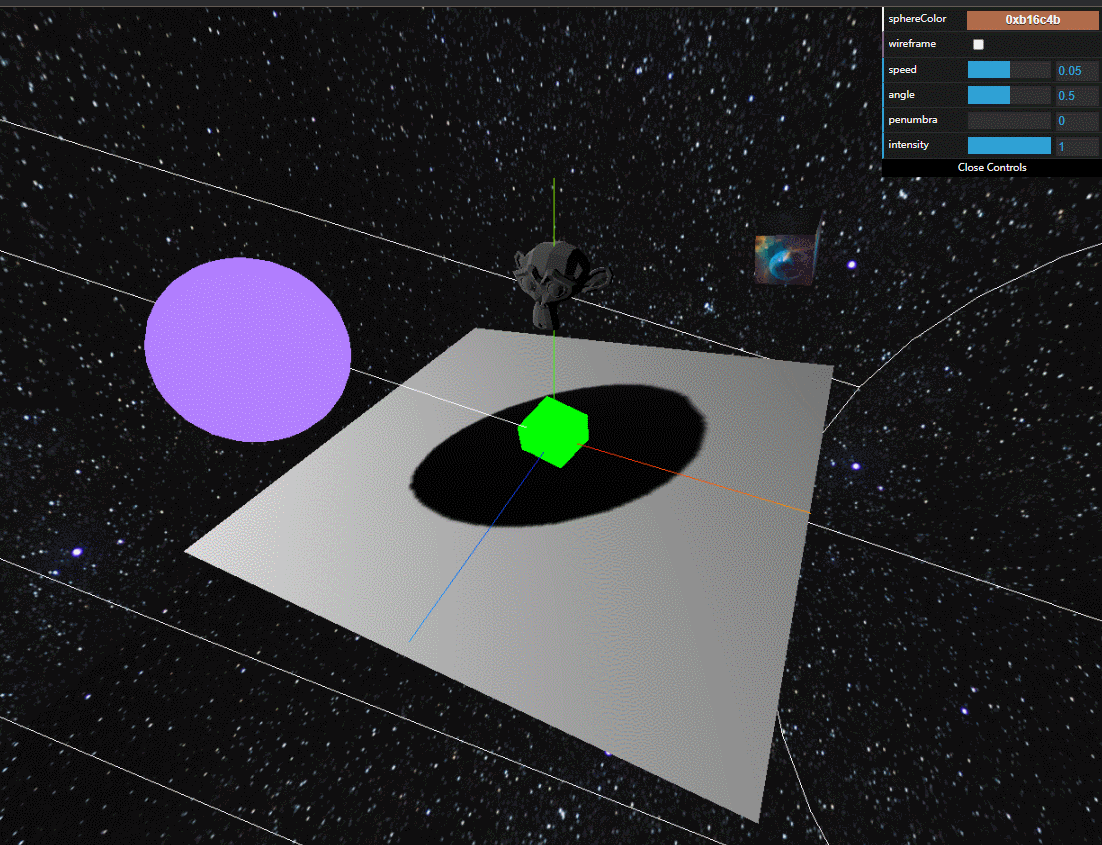
这里以导入gltf格式模型为例,
1 2 import {GLTFLoader } from 'three/examples/jsm/loaders/GLTFLoader' const gltfLoader = new GLTFLoader ()
由于项目内使用了parcel作为打包工具,
1 const monkeyUrl = new URL ('../assets/monkey.glb' , import .meta .url )
通过loader读取模型数据并绘制:
1 2 3 4 5 6 7 8 gltfLoader.load (monkeyUrl.href , function (gltf ) { let model = gltf.scene scene.add (model) model.position .set (0 , 10 , 0 ) model.scale .set (2 ,2 ,2 ) }, undefined , function (err ) { console .err (err) })
CanvasResponsive响应式画布 在屏幕尺寸发生变化时,需要对相机camera的比例进行更新,
1 2 3 4 5 6 window .onresize = function ( camera.aspect = window .innerWidth / window .innerHeight camera.updateProjectionMatrix () renderer.setSize (window .innerWidth ,window .innerHeight ) }